Merry Christmas to you all! Today I will show you a Christmas card I have made.
When I started in the
WOC DT, I was introduced to something new to me, the Foamiran sheets.
I had seen gorgeous flowers made with this sheets on the internet,
and now I just had the perfect opportunity to try it out!
For this card I have used dies from
Magnolia to make the flowers.
I will later in this post show you how I made them. I have been inspired by several tutorials on youtube:)
The image, dies and papers used are from Magnolia.
And I have coloured the poinsettia (which is original made with a white sheet) in the same colours as you see in the image. The image is coloured with Distress Ink, re-inkers and Markers.
Here is a close up of my flowers. They are not perfect, but I love making them, and will make many more for sure :)
And now I have a step by step for you on how I made the flowers:
Here is what you need: a glue gun, a heat gun, foamiran, Chalks, dies,distress ink, and red and white stamens.
Cut out the poinsettias.
Then add colour on both sides of the foam.
Blow the poinsettia leaf with the heat gun.
Fold it and curl them up.
Use the glue, and glue them together.
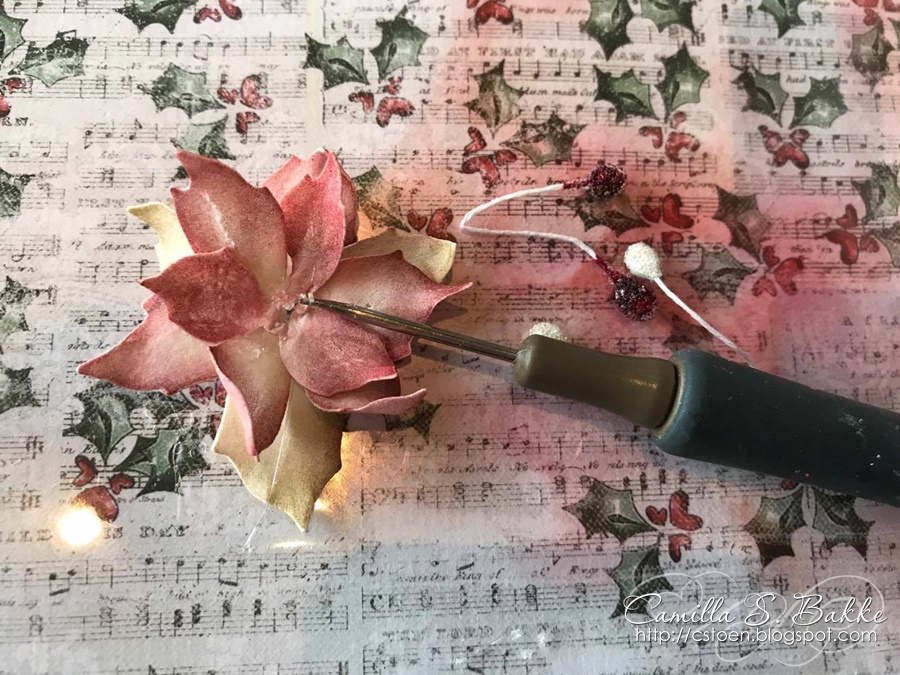
Make a hole through the poinsettia, and put the stamens inside.
Here is the finished result.
And here they all are.
I hope I inspired you to try making some yourself!
Thank you so much for visiting!
Hugs, Camilla