Viser innlegg med etiketten Høst. Vis alle innlegg

søndag 9. september 2018

A thank you card for Maja Design today!


Heisann! 
I dag vil jeg vise et takkekort jeg har laget. 
Det er også i Maja Design sin blogg i dag.
Motivet fra Stempelglede er malt med Distress Ink, reinkers. 
Der blomstene er malt gule og rosa. Noe som også går igjen på kortet.
Papirene er fra Maja Design sin kolleksjon som heter Vintage Autumn Basics.


Tusen takk-skiltet er limt fast i en pinne. 


Blomstene er fra Wild Orchid Crafts. 


Tusen takk for at du besøker bloggen min!

Klem, 
Camilla

søndag 29. desember 2013

DT Maja Design ♥ De siste kalendersidene

Heisann! Her kommer endelig de siste kalendersidene til kalenderen jeg har laget til Maximilian's besteforeldre. Den ble ferdig til jul (om noen lurte)! ;)
Info om hvilke papir jeg har brukt finner du i bloggen til Maja Design.


♥♥♥
Da ønsker jeg dere en fortsatt god romjul, 
og jeg regner med å være tilbake med en årskavalkade 31. desember:)) 
Må bare plukke fram mine favoritter fra arkivene... !
Klem, Camilla

lørdag 26. oktober 2013

MDUC #220 ~Autumn Vintage ♥

Hi! I am back with a card for MDUC. This week it is lovely Ying who has chosen the theme: Autumn Vintage. Mine doesn't have the warm Autumn colours, I have been inspired by the RAIN! It is pouring down here!
This cute image from Magnolia is called London Tilda, and she is from the Little London Collection
I have coloured her with Distress Ink, re-inkers.
The gorgeous papers I have used are from Maja Design and the Vintage Autumn Basics collection,
I have used some dies from Tim Holtz here, the Weathered Clock and Caged Bird.
The tags are made with Magnolia die, Vintage Tag. And the leaves are from the Leaf and swirl die.
I have added Frantage-Shabby White on several places around the card. On the umbrella, raindrops and boots I have added Crackle Accents. The metal corner is painted with White Gesso and added some frantage as well. 
The flowers are from WOC and Prima. 
Behind the image I have placed some cheese cloth, and a small paper bag
All the paper edges are inked with Distress Ink pad-Walnut Stain (I am using the Ink blending tool). You may spot some small pearl hearts in some of the corners, they are from Kort og Godt.
Also the post stamp is from Kort og Godt.
I have fasten some seem binding ribbon which I have coloured myself in the tags. 
I make a mix with distress re-ink drops and water. Here I have used the colours Faded Jeans and Weathered Wood. I spray it on the ribbon, curl it, and let it dry over night. (It is a good idea to use gloves:))
You can also view this card in my Magnolia blog
Now it is just to head over to MDUC to have a look at all the beautiful Autumn Vintage creations made by my wonderful teammates!!
Thank you so much for visiting my blog,
and for the lovely comments you take the time to write me:)

lørdag 1. september 2012

MDUC #162 ~ BINGO ♥

Hi! This week we play BINGO at MDUC.
I have chosen the row: Die Cuts-Free-Doily:)
Isn't she just wonderful on her Vespa?!!:) I love this cute image of Scooter Tilda from Magnolia,
and she is so fun to color too.
Colouring:
Skin: Vintage Photo, Tattered Rose, the cheeks are coloured with a mix of Tattered Rose and Aged Mahogany. Under her fringe I have coloured with Markers-Tea Dye, just to make a nice shadow on Tilda's forehead.
Hair: Antique Linen, Walnut Stain
Jeans: A mix with Victorian Velvet, Dusty Concord, Tattered Rose, Weathered Wood, I have also used Black Soot on the darkest spots
Vespa: Black Soot
Jacket: Shabby Shutters, Black Soot
Scarf /helmet: Black Soot
I have used beautiful papers from Maja Design. 
I LOVE the Vintage Summer Basics collection!
The cute sentiment is from Stempelglede ("Just a note" in english).
Beautiful details from Kort & Godt.
(You can also read this post in my Magnolia blog)
Please visit the MDUC blog to have a look at the amazing BINGO-cards from my team mates!!
♥♥♥
Have a great evening!
Thank you for visiting my blog:)

lørdag 25. august 2012

MDUC #161~ All stitched up! ♥

It is a new challenge from MDUC, and the theme is
All Stitched Up - Use Real or Faux Stitching on your creation!
I am addicted to use my sewing machine on my cards, 
so an esay challenge for me!:) Hope you will join in too!!
I have used Tilda with Daisys and Mushrooms again for this card. 
She is such a cutie!:)
Colouring with Distress Ink-re-inkers:
Skin: Vintage Photo, Tattered Rose, the cheeks are coloured with a mix of Tattered Rose and Aged Mahogany. Under her fringe I have coloured with Markers-Tea Dye, just to make a nice shadow on Tilda's forehead.
Hair: Antique Linen, Walnut Stain
Pants/bow: A mix with Victorian Velvet, Dusty Concord, Tattered Rose, Weathered Wood, I have also used Black Soot on the darkest spots
Shoes: Antique Linen, Walnut Stain
Sweater: Walnut Stain
All the papers and butterflies are from Pion Design.
♥♥♥
♥♥♥
♥♥♥
♥♥♥
Please take a look at all the amazing creations by my team mates!
Thank you so much for the lovely comments you leave here, 
you make my day!
I wish you a lovely evening, and thanks for visiting ♥

torsdag 16. august 2012

Happy Birthday Bente ♥

Happy Birthday Bente!
Some weekends ago I spent the whole weekend at Bente's home.
So much fun!!
And we got to do a lot of colouring. One of the images I coloured was this cutie, Autumn Tilda with Broom
It was Bente's idea to put her on a wall. 
Since I didn't have any wall, I was challenged to make one myself.
It went better than expected:)
Colouring:
Skin: Vintage Photo, Tattered Rose, the cheeks are coloured with a mix of Tattered Rose and Aged Mahogany. Under her fringe I have coloured with Markers-Tea Dye, just to make a nice shadow on Tilda's forehead.
Hair: Antique Linen, Walnut Stain
Sweater: A mix with Victorian Velvet, Dusty Concord, Tattered Rose, Weathered Wood, I have also used Black Soot on the darkest spots
Jeans: Weathered Wood, Black Soot
Shoes: Antique Linen, Walnut Stain
Scarf: Shabby Shutters, Black Soot
Wall: Pumice Stone, Fried Burlap, Black Soot
I have used many of the beautiful flowers from Kort & Godt which I bought in Hjerteboden.
I have made some tags, and used a doily and a lace.
♥♥♥
This time I have also decorated the inside.
Just a different shot!:)
♥♥♥
Thank you so much for visiting!
Take care and have a wonderful day♥
You make my day!

fredag 3. august 2012

DT Maja Design ♥ with a "Butterfly step by step"

Hi! 
Hope you are fine and are enjoying the summer, outside or inside crafting maybe?:)
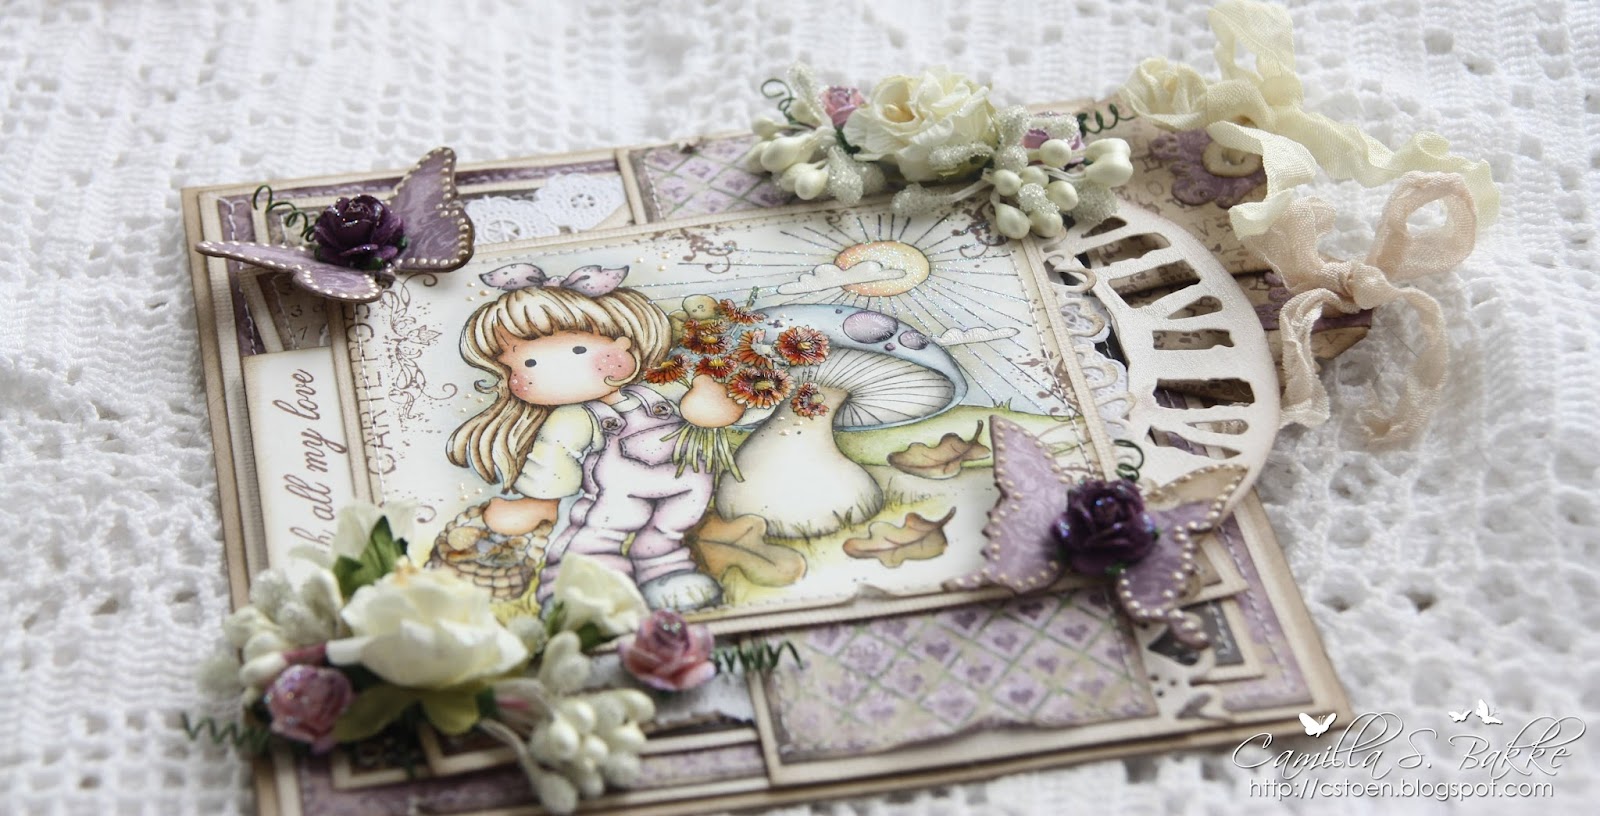
This Friday I want to show you a card I have made with the wonderful "Ska vi ta en Fika"/"Let's have coffee" collection from Maja Design. 
And I have also made a step by step of how I made the butterflies I have on the card.
The paper I have used are:
♥ Søders Høider
♥ Havrerutor
♥ Lejas Cafe
Now some close-ups of the details.


My scene is made with two stamps from Magnolia
Tilda with Daisys and Mushrooms and Sunny Autumn Morning
I have coloured the scene with Distress Ink-reinkers and Markers.
I have also used some stamps from Stempelglede and the Vintage Garden collection. Both text stamps are from Magnolia.
 ♥♥♥
And now I want to show you how I made the butterflies on my card.
So I have made a step by step, here it goes:
I start with the papers I want to use, here Kraft and Maja Design Pattern Paper (Ska vi ta en Fika? -Søders Højder), a brush and some glue (here Glue n' seal).
I put some glue on the Kraft paper.
As much as this. But that is up to you (I wanted more pattern paper on the butterflies than Kraft).
Now I lay the pattern paper over the Kraft paper.
 I push them extra hard together. And then I wait for some minutes. It doesn't take long time before the glue has fasten the papers together.
Now I start to rip some of the pattern paper off the Kraft paper.
Here is what it looks like when I am finished.
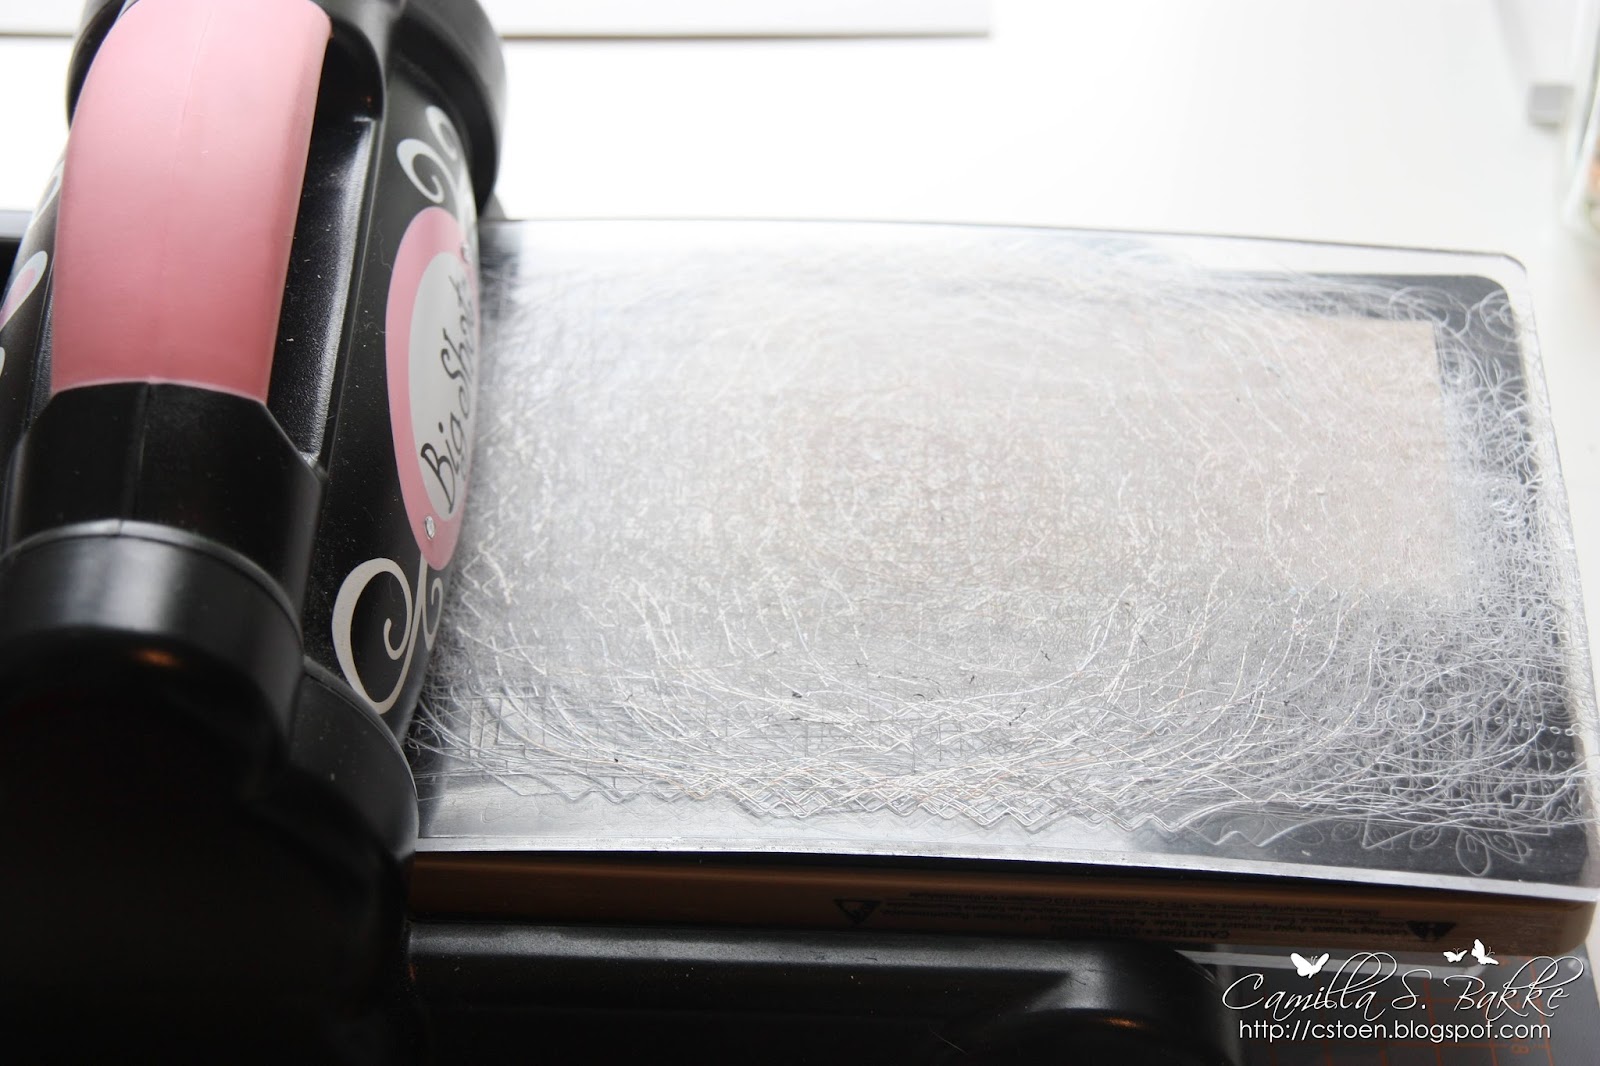
Now it is time to find the tools. I use my Big Shot, and the butterflies I use are from Tim Holtz. 
I have to lay the butterflies inside the tag-die. (Then I only need one plate under the dies, and one over.)

I lay the paper over the dies like you see on the photos.

Here I place the plate (well used:)) over the dies.

Turn the weel, ...and the dies are on the other side.
I take away the plate...
... and take a look at the butterflies:) (I see that I should have placed the paper a bit more up or down on the dies, so that the ripped paper would have shown a bit better on the butterflies....)
I add some ink (walnut stain) to the paper edges.
And pretty them up with some Liquid Pearls-Bisque...
... like this.
♥♥♥
{You can also view this card in my Magnolia blog}
And here they are on the card, with a purple rose on each:)
Thank you so much for visiting my blog!
Take care & have a wonderful Friday:)